For AMD GPU (Experimental) install ROCM.
For NVIDIA GPU install CUDA.
For AMD GPU (Experimental) install ROCM.
For NVIDIA GPU install CUDA.
No GPU support, so no prerequisites.
Warning: first GPU run may be very slow.
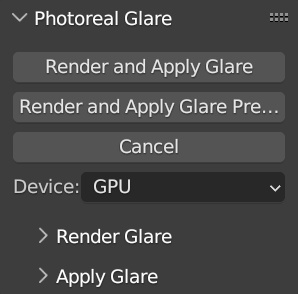
The addon is located in the “Image Editor” window. Select the image you want to apply the glare to (the image must be saved), and the easiest way to get started is to click “Render and Apply Glare Preview” This will generate a low quality preview of glare applied to the currently selected image in the image editor. The preview is useful for checking the general size and shape of the glare, though colors and details may be inaccurate, especially for small objects.
If satisfied with how the glare looks, click “Render and Apply Glare” to generate and apply high quality glare. The following is some more detailed steps on how to configure the glare.
Tip: Try generating glare, and applying it separately. Generating the glare may not be possible on the GPU due to VRAM requirements, so generate it on the CPU, and apply it on the GPU.
It is recommended to work with images, with a view transform applied, such as Filmic. So if importing images in formats such as OpenEXR do the following:
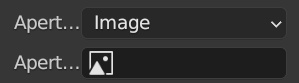
 Features settings for the glare, with the most notable ones being aperture type, camera settings, and low step preview.
Use Current Image Size: Use the current image’s largest dimension as “Target Image Size”.
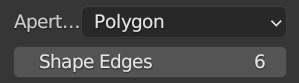
| Image | Polygon |
|
|
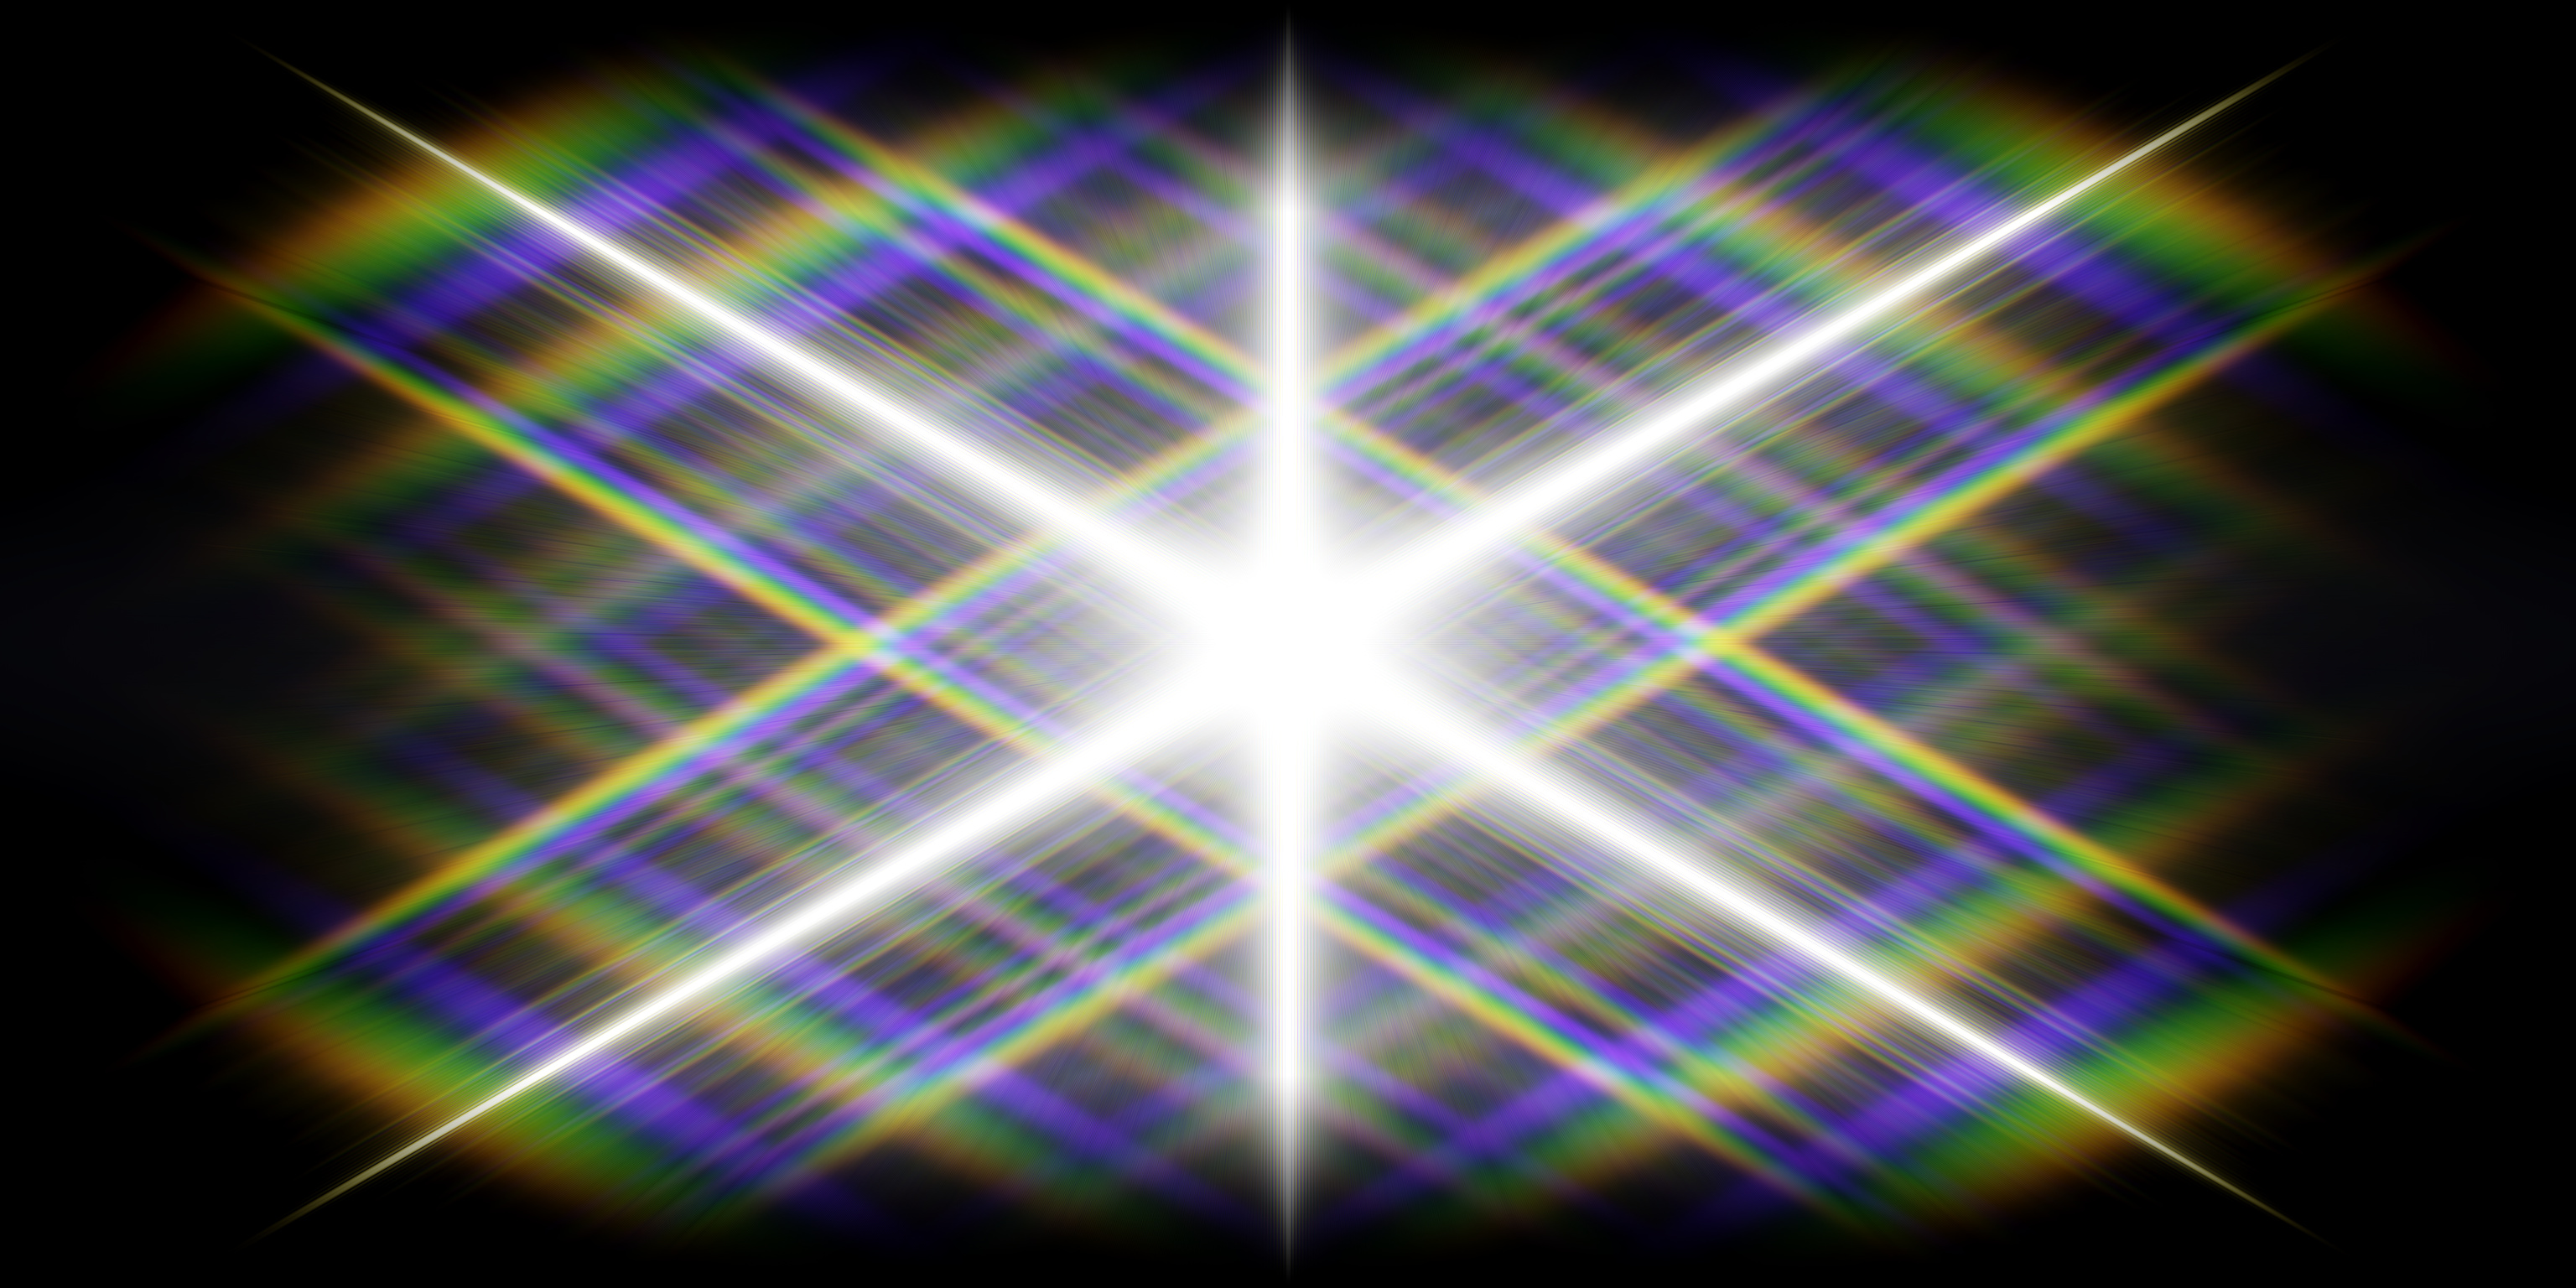
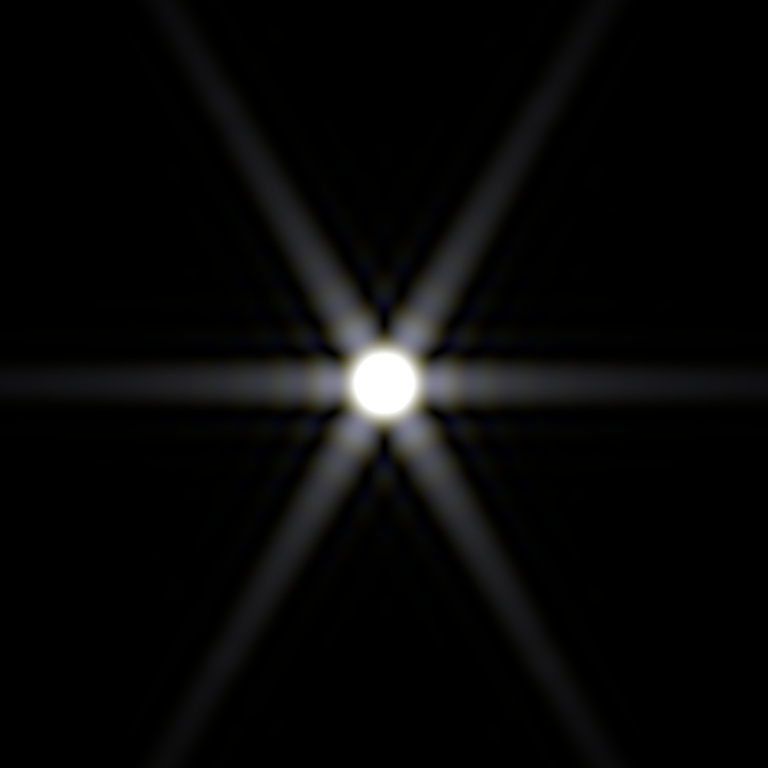
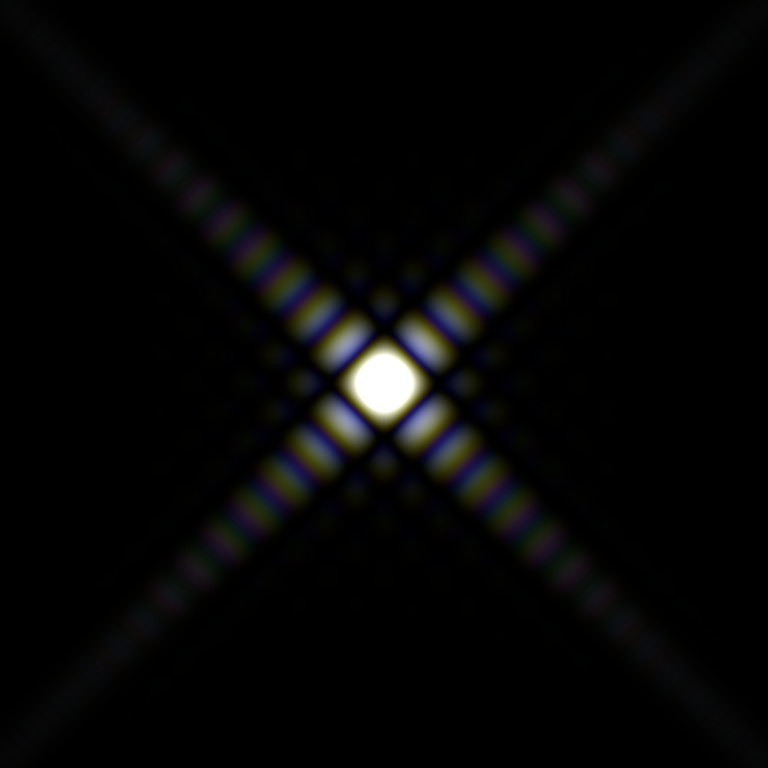
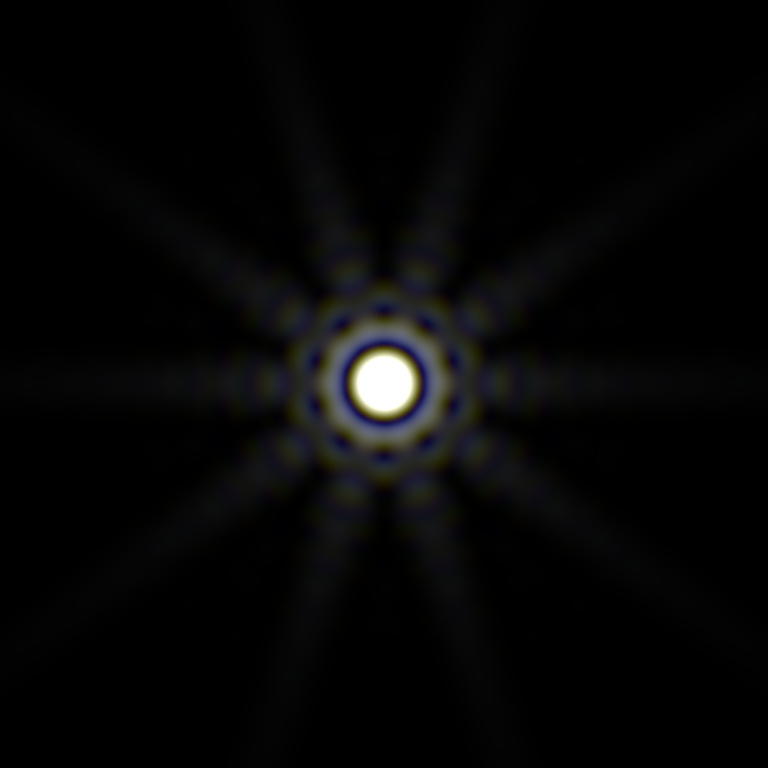
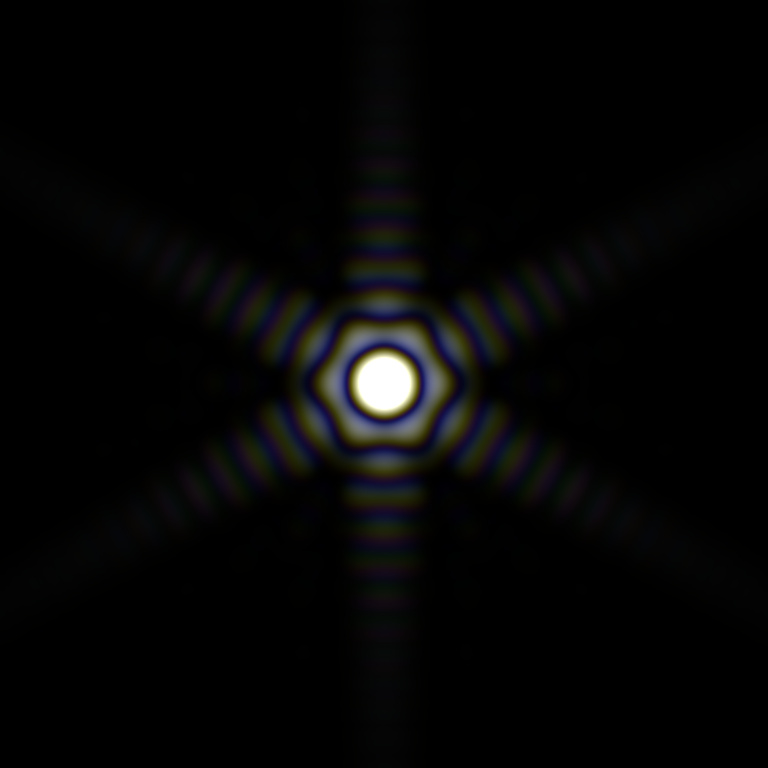
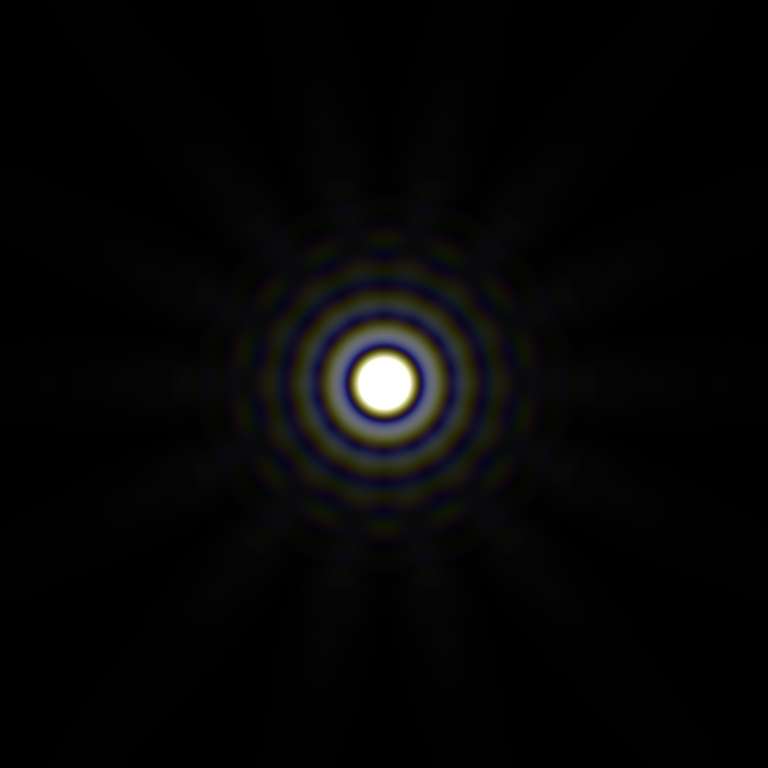
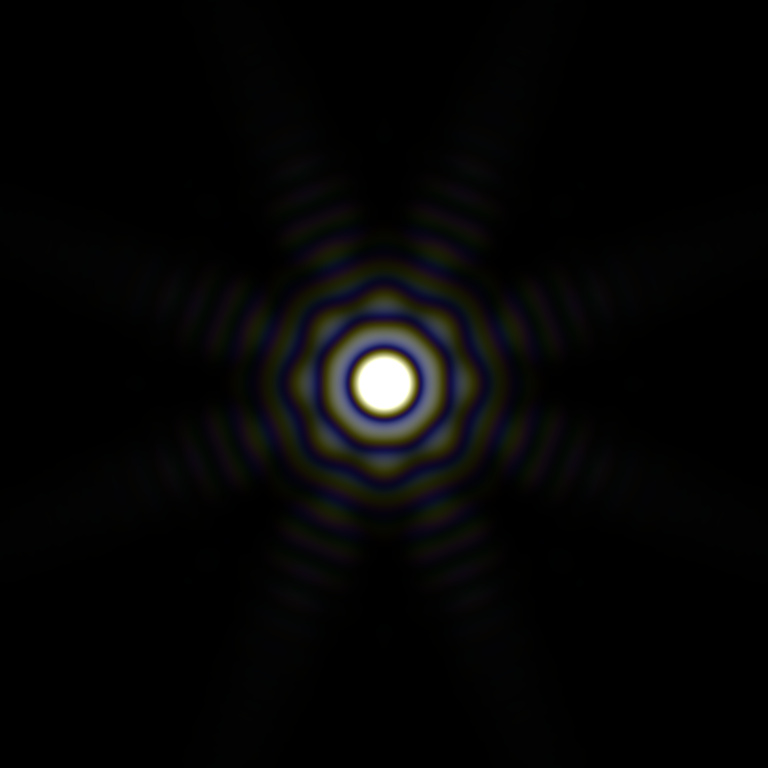
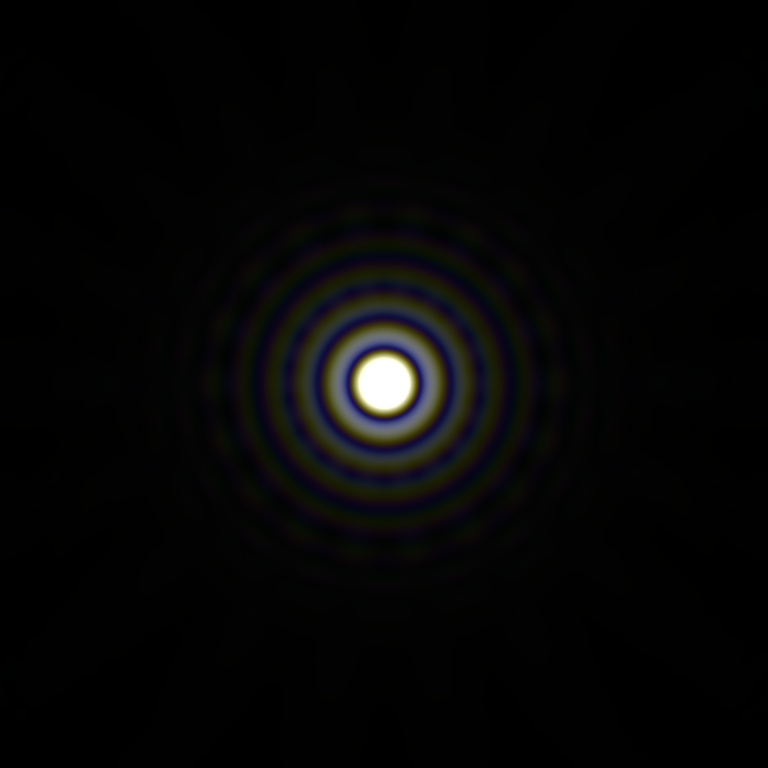
Here are some example polygon shapes, and their diffraction patterns.
| Aperture Shape | Glare Shape | |
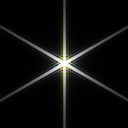
| Circle |  |
 |
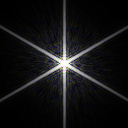
| Triangle |  |
 |
| Square |  |
 |
| Pentagon | 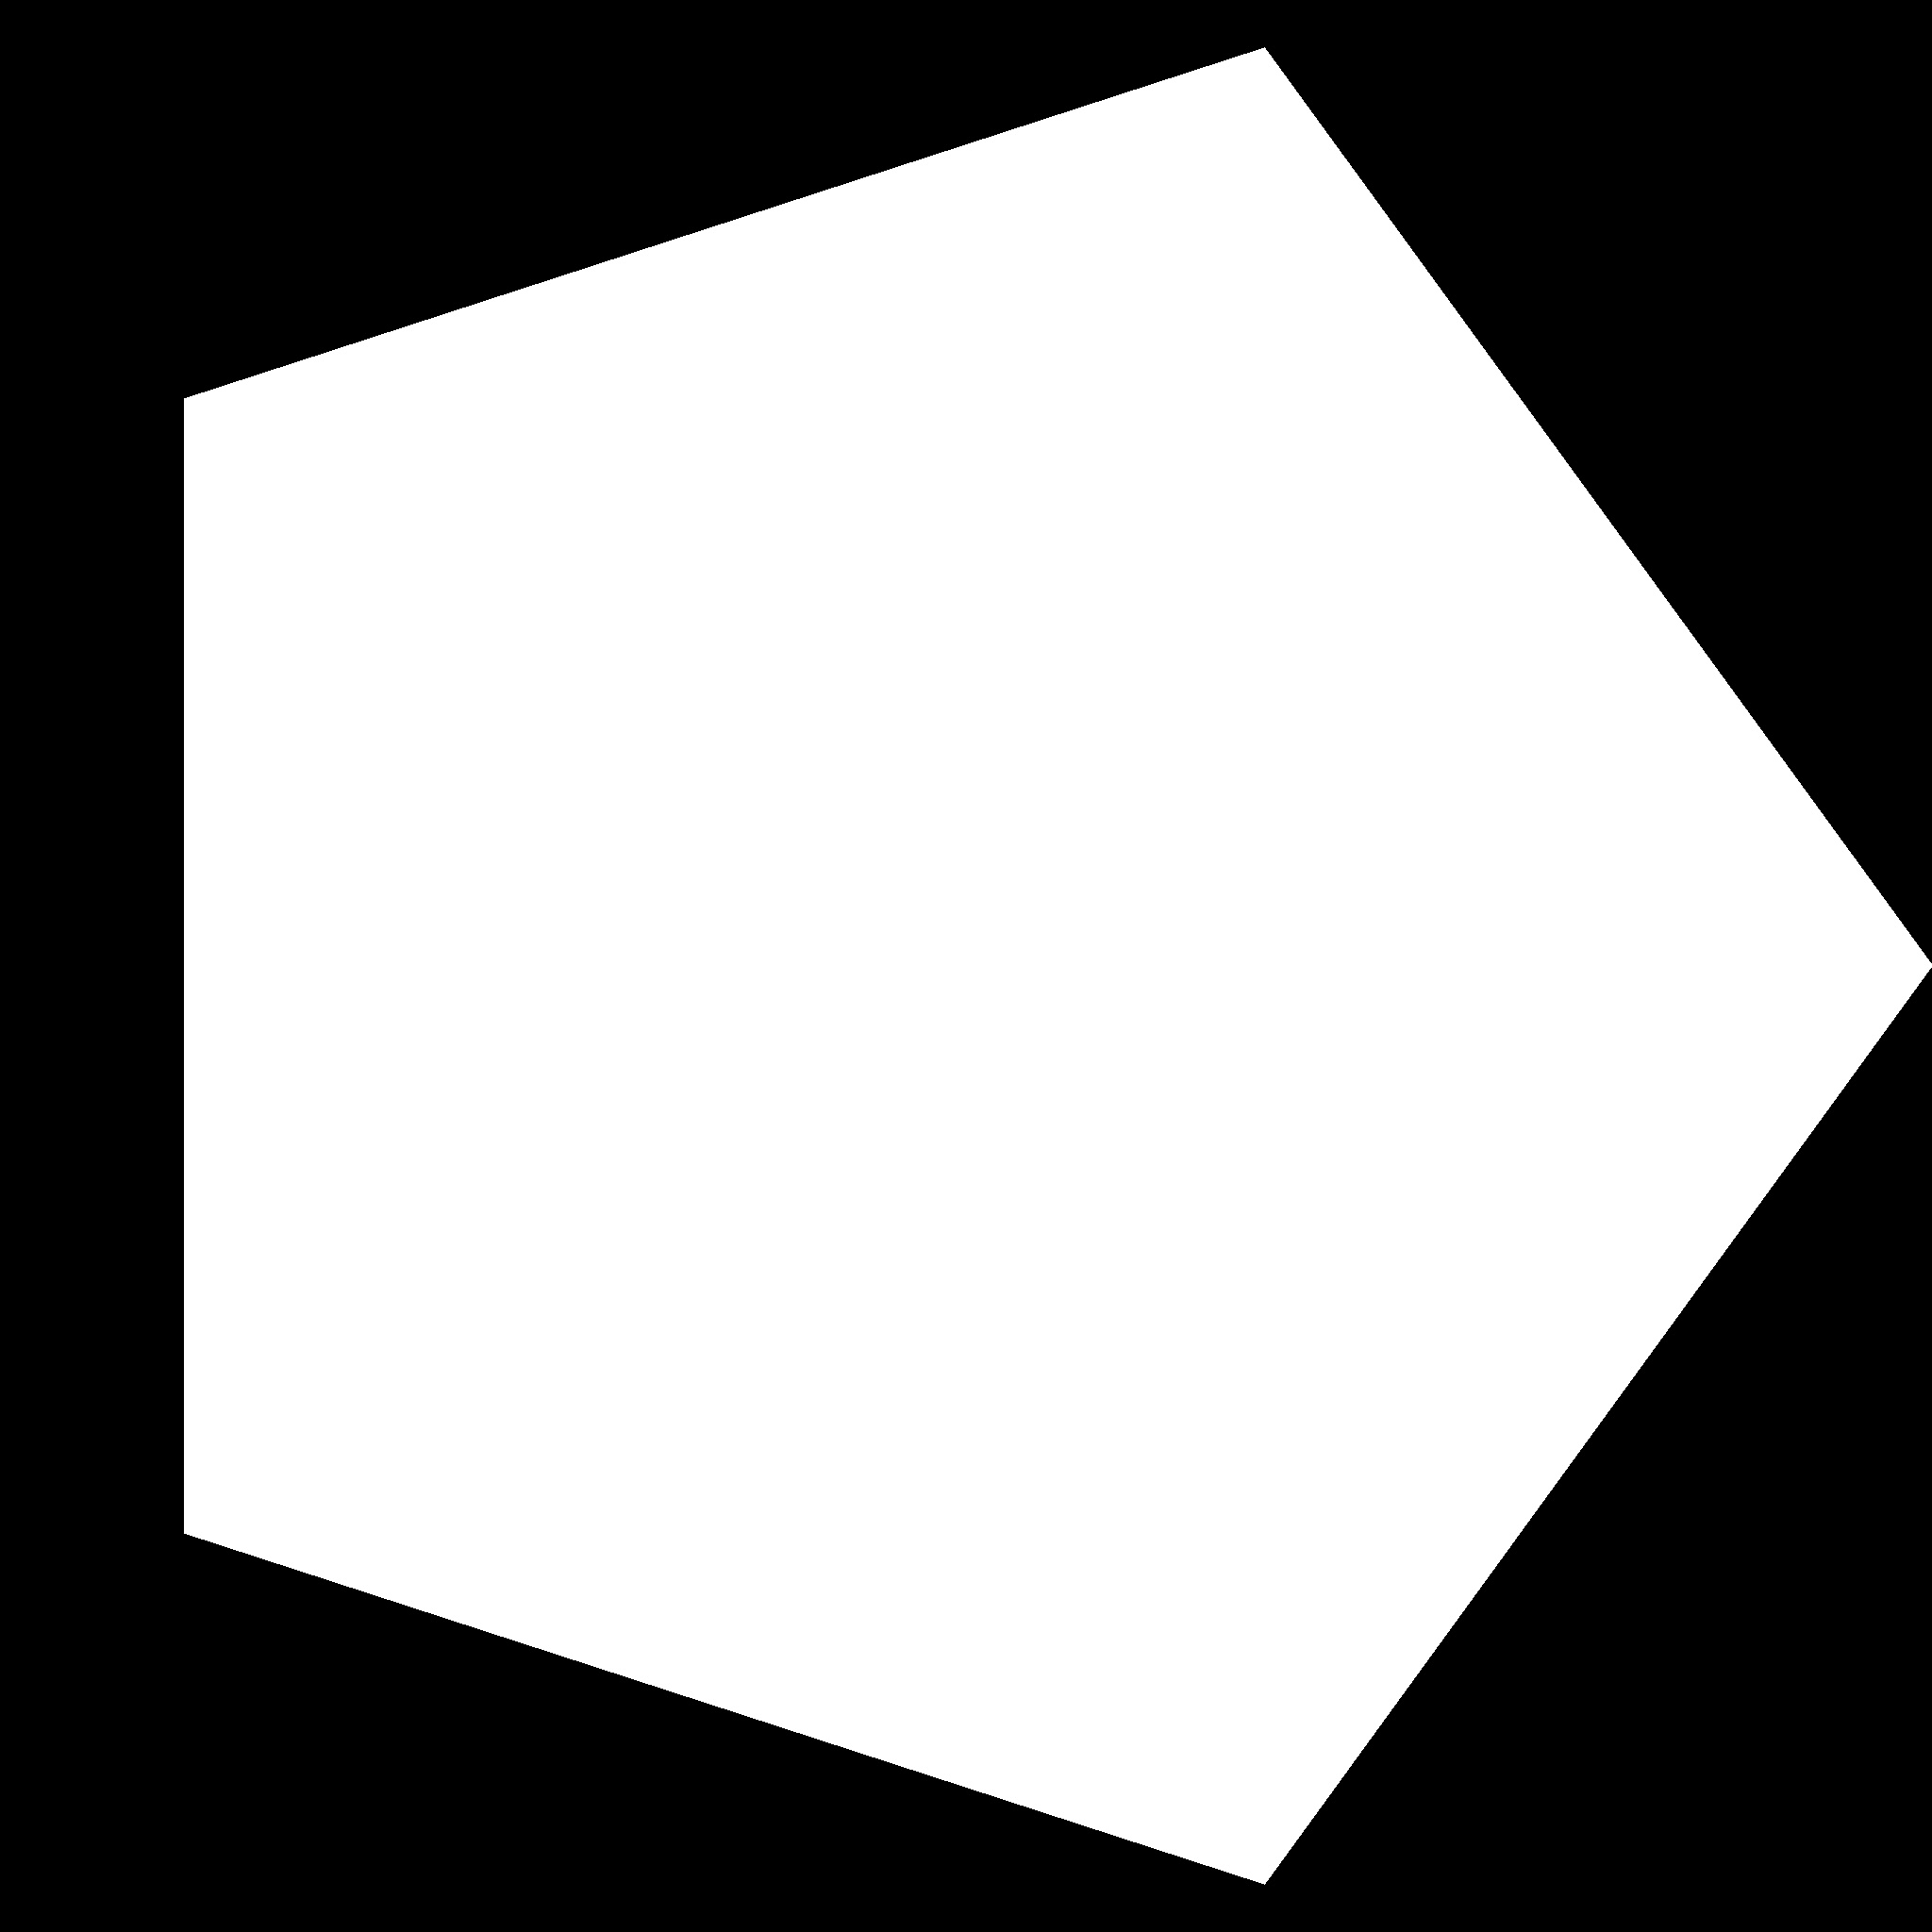 |
 |
| Aperture Shape | Glare Shape | |
| Hexagon |  |
 |
| Septagon |  |
 |
| Octagon |  |
 |
| Nonagon |  |
 |
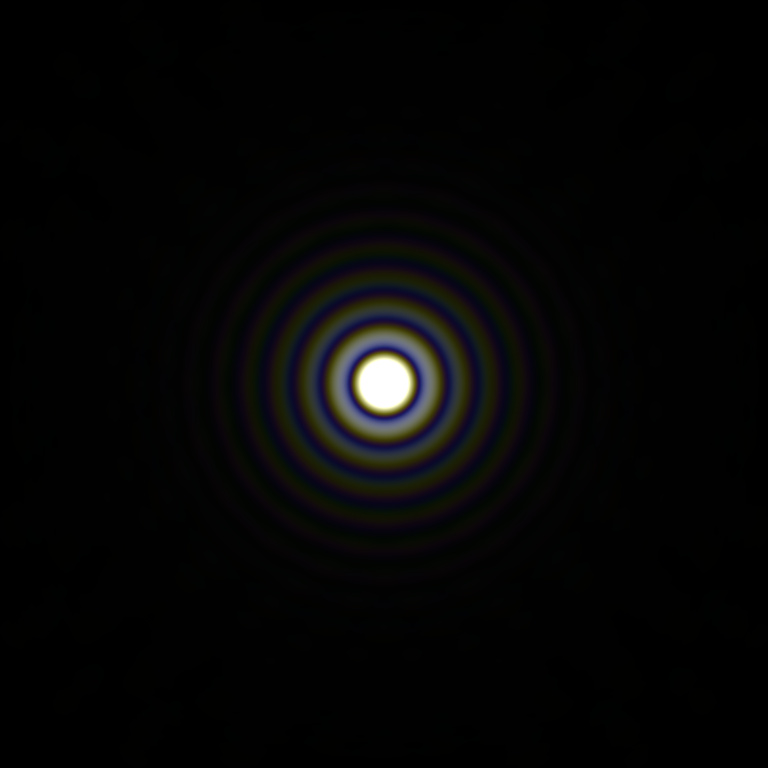
The images shown are for illustration only (Using a tiny aperture size of 0.1 mm, and cropped). In reality, the visible parts of the glare images used are very small, with just one bright pixel at the center, such as this cropped image of the glare from a circular aperture (target: 1024, cropped to 256): 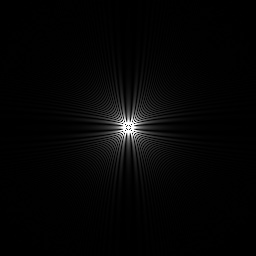

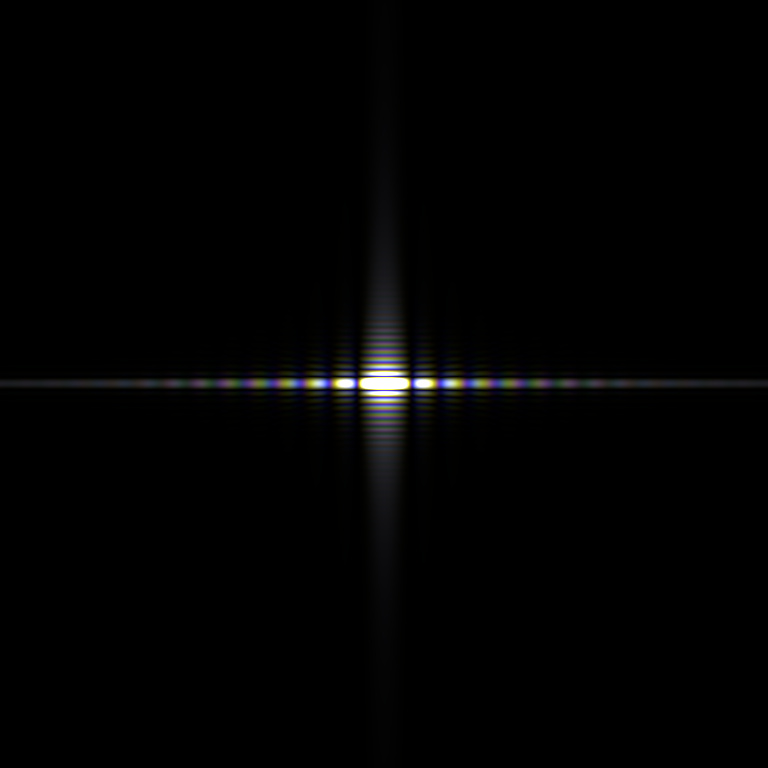 Left: single slit, Right: diffraction pattern
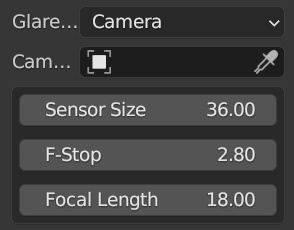 Camera: If a camera is specified, the “Sensor Size”, “Aperture Size”, and “Focal Length” will be read from that camera's settings. If no camera is given, these parameters can be set manually in millimeters. Specifying a camera is recommended for realistic settings based on real lens models. Manually setting the sensor, aperture, and focal length values allows for creative flexibility.
Wavelength Range: This sets the range of colors/wavelengths to generate glare for. The default range covers the full visible spectrum. You can specify a narrower range to isolate glare for certain colors only.
Wavelength Steps: The number of color samples taken from the “Wavelength Range”. Higher values provide more spectral accuracy, which is noticeable with lots of multicolored glare. Lower values can create a “stepped color” pattern in the glare due to fewer color samples. For subtle or monochromatic glare, a lower value works fine.
Dispersion: Amount of color spread, lower values give a less colorful, sometimes grayscale glare, higher values give more colorful glare. (Values other than 1.0 are not physically accurate)
Low Step Preview: Enabling this previews the glare using fewer “Wavelength Steps”, scaled by the “Step Factor”. This improves render performance but shows an approximation of the final glare effect. Useful for quicker preview renders before final high quality output.
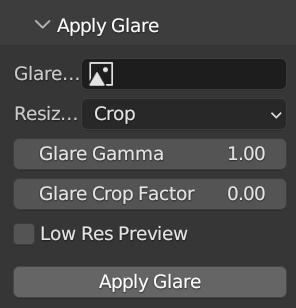 Applies the glare image to the current image in the editor. Currently single-threaded, to save memory.
To help identify and solve an issue the following information is necessary: